The Art of the Wing: Elevating Your Gaze
Estimated reading time: 3 minutes
Key Takeaways:
- Achieving the perfect winged eyeliner requires precision and practice
- A smooth base ensures effortless liner application
- Creating a series of guiding dots is key for precision
- Experimentation is encouraged to find your signature look
Table of Contents:
- The Art of the Wing: Elevating Your Gaze
- A Masterclass in Eyeliner Application
- Step 1: The Foundation – A Flawless Canvas
- Step 2: The Guiding Dots – Precision is Key
- Step 3: Connecting the Dots – Defining the Silhouette
- Step 4: Filling In – The Stroke of Elegance
- Step 5: The Finishing Touch – Framing the Masterpiece
- Embracing the Possibilities
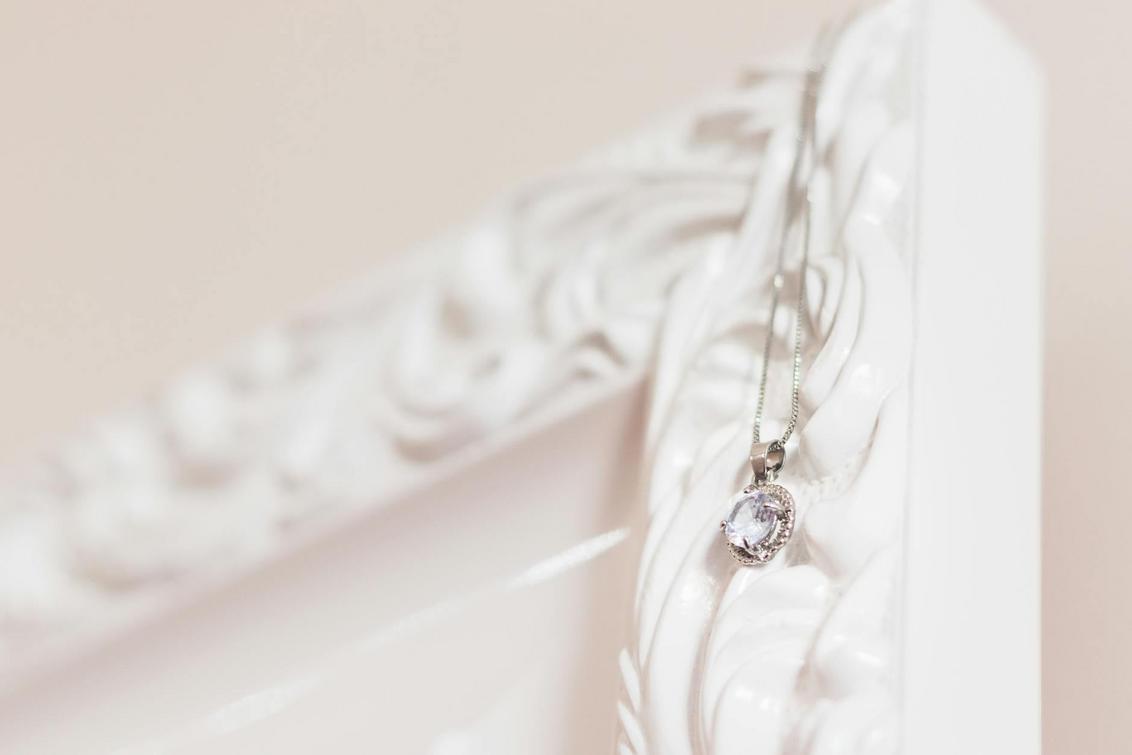
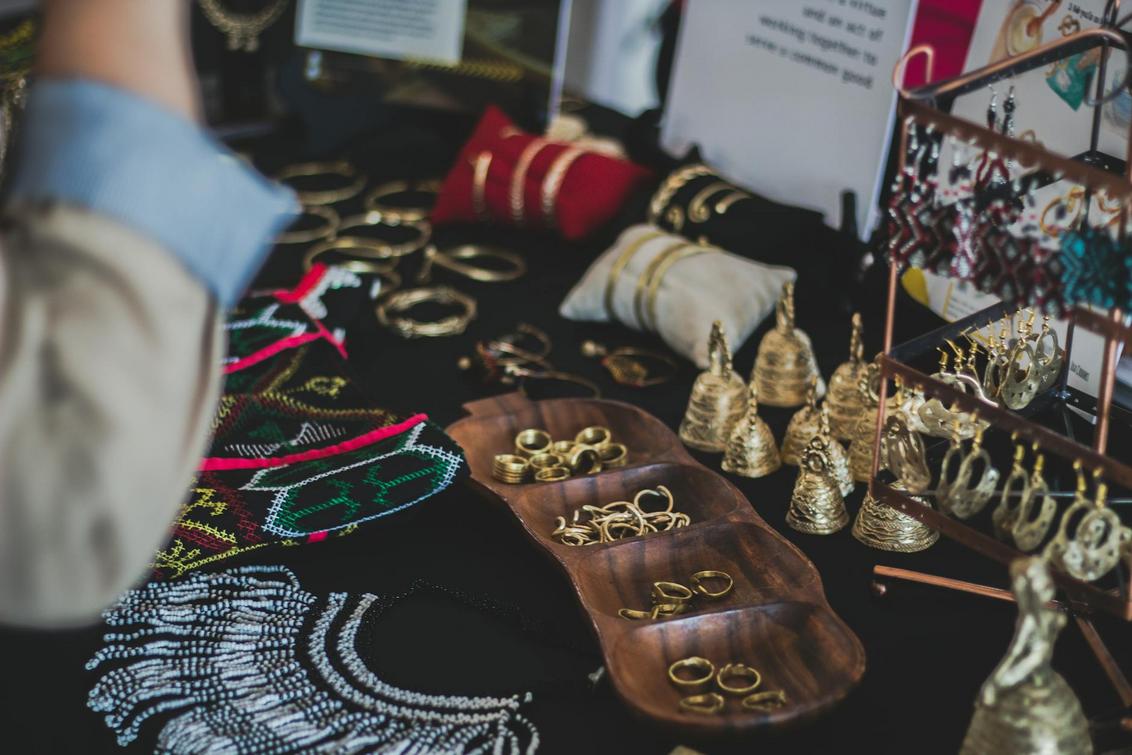
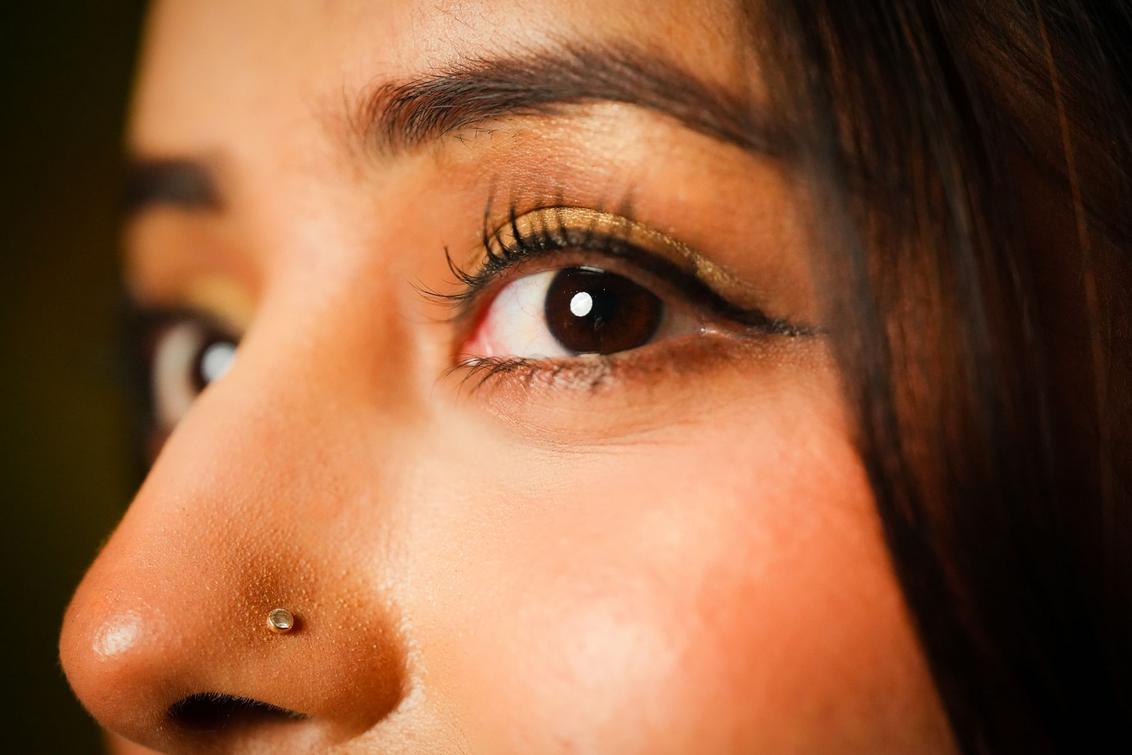
In the realm of high fashion and bespoke beauty, the winged eyeliner reigns supreme. Much like the meticulous craftsmanship of handcrafted jewellery, its execution demands precision, artistry, and a deep understanding of form. This timeless technique, a staple in the repertoire of any woman who appreciates luxury accessories, is more than just makeup; it’s a statement. As we delve into the latest gemstone trends and explore the exquisite allure of 18k gold accents, understanding the power of a perfectly drawn wing becomes paramount.
A Masterclass in Eyeliner Application
Achieving the perfect wing is a skill, honed through practice and a discerning eye. Following a few simple steps will elevate your look, mirroring the careful attention given to each piece of handcrafted jewellery.
Step 1: The Foundation – A Flawless Canvas
Begin with a smooth, prepared canvas. A light foundation applied to the eyelids ensures a clean base, allowing the liner to glide effortlessly. For those with oily lids and long lashes, a touch of setting powder provides added staying power.
Step 2: The Guiding Dots – Precision is Key
A soft black eye pencil becomes your guide. Starting at the inner corner, create a series of evenly spaced dots along your upper lash line. Gradually extend the length of each dot as you move outwards, mirroring the elegant sweep of a precious gemstone setting.
Step 3: Connecting the Dots – Defining the Silhouette
Connect the dots, transforming them into a delicate, upward-sloping line. Angle the final dot towards the end of your brow, creating the signature wing. Then, seamlessly connect the line to the lower lash line, defining the shape.
Step 4: Filling In – The Stroke of Elegance
Employ liquid eyeliner to fill the outline, allowing the inky pigment to set for a few moments, before gently setting to leave a lasting impression. Any imperfections can be corrected with a cotton bud dipped in makeup remover.
Step 5: The Finishing Touch – Framing the Masterpiece
Complete the look with a coat of mascara, which will add depth and allure. Just as the final gleam of a polished gemstone enhances the brilliance of the metal, mascara elevates your overall look.
Embracing the Possibilities
Experiment and explore. The winged eyeliner is a versatile tool; a perfect companion piece to the rich colour palettes and innovative designs found in luxury accessories and the most sought-after gemstone trends. Feel free to explore and combine different styles to find the look that best suits your unique heritage.
What are your favourite eyeliner looks? Share your thoughts and tips with us!
FAQ
Q: How do I prevent my winged eyeliner from smudging?
A: Use a primer on your eyelids before applying any makeup. Setting powder can also help, especially if you have oily lids.
Q: What type of eyeliner is best for beginners?
A: A felt-tip liquid eyeliner or a pencil eyeliner is generally easier to control for beginners.
Q: How do I fix a wobbly wing?
A: Use a cotton bud dipped in makeup remover to clean up any mistakes. You can also use concealer to neaten the edges and create a sharper wing.
Q: Can I use eyeshadow to create a winged eyeliner look?
A: Yes! Use an angled brush to apply a dark eyeshadow along your lash line.
Q: What is the best way to choose the right eyeliner color?
A: Choose a color that complements your eye color. Black is classic, but exploring brown, navy or even jewel tones for a fun twist.